Last week, I suddenly had the urge to make ornaments—even though Halloween hasn’t even arrived yet. I’m not sure why I decided it was the best time to start making them. I’ve been trying to come up with ideas for fall and the upcoming events, but nothing really inspired me. Then, as I was playing around with my wires, I unexpectedly felt inspired to create ornaments.

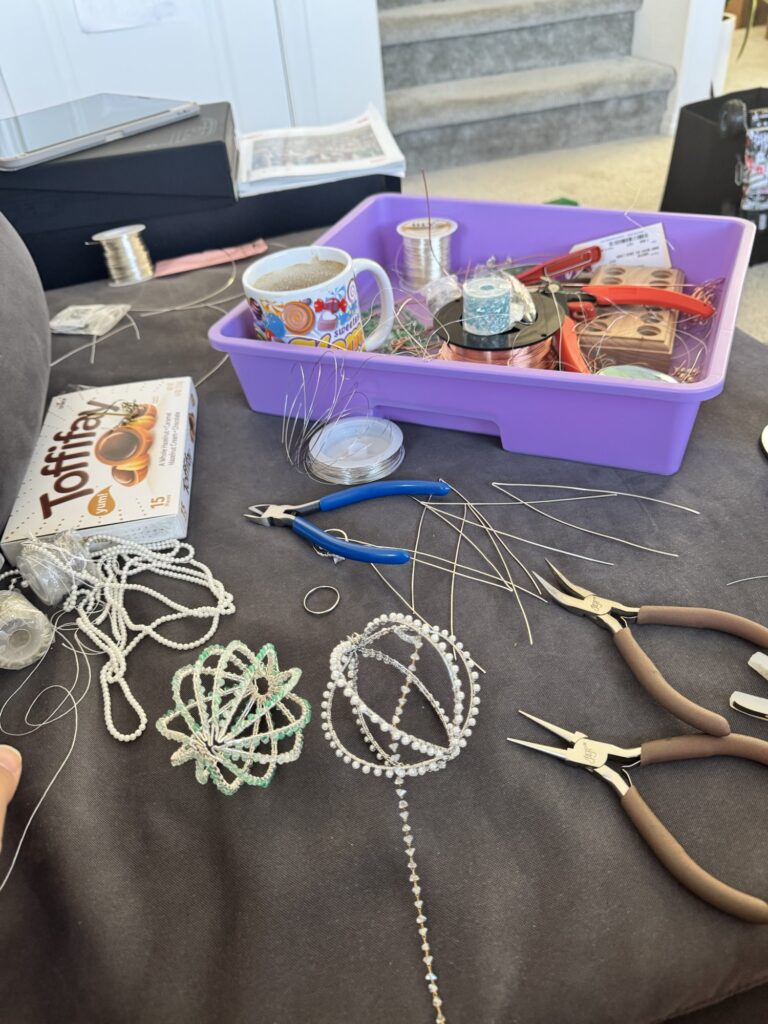
I started wrapping wires and beads onto two pieces of metal with no clear direction in mind. At first, I thought maybe I was making a ring, maybe a bracelet. Then suddenly I looked at it and thought, Oh, this might actually be cute as an ornament—but how would I make it work? I kept wrapping anyway and told myself, Yes, this will be cute as an ornament, but how can I make it look like one?
I began doing some research online, but there weren’t many ornaments in the shape I was imagining. Most of the wire ornaments I found were shaped like Christmas trees, angels, or stars. I really wanted to create that classic round ornament—but with my own twist.
After looking through so many pictures of different ornaments, I decided I was just going to wing it and see if it was even possible. Then I started wondering, should I be making things like spiders, cauldrons, and witches? But it’s not even Halloween yet—it’s only September. That’s when I reminded myself: if I want these ornaments ready for Christmas—by late November or early December, so they’re available for anyone who might want to purchase them—I have to start now.
My First Attempt At Making An Ornament.
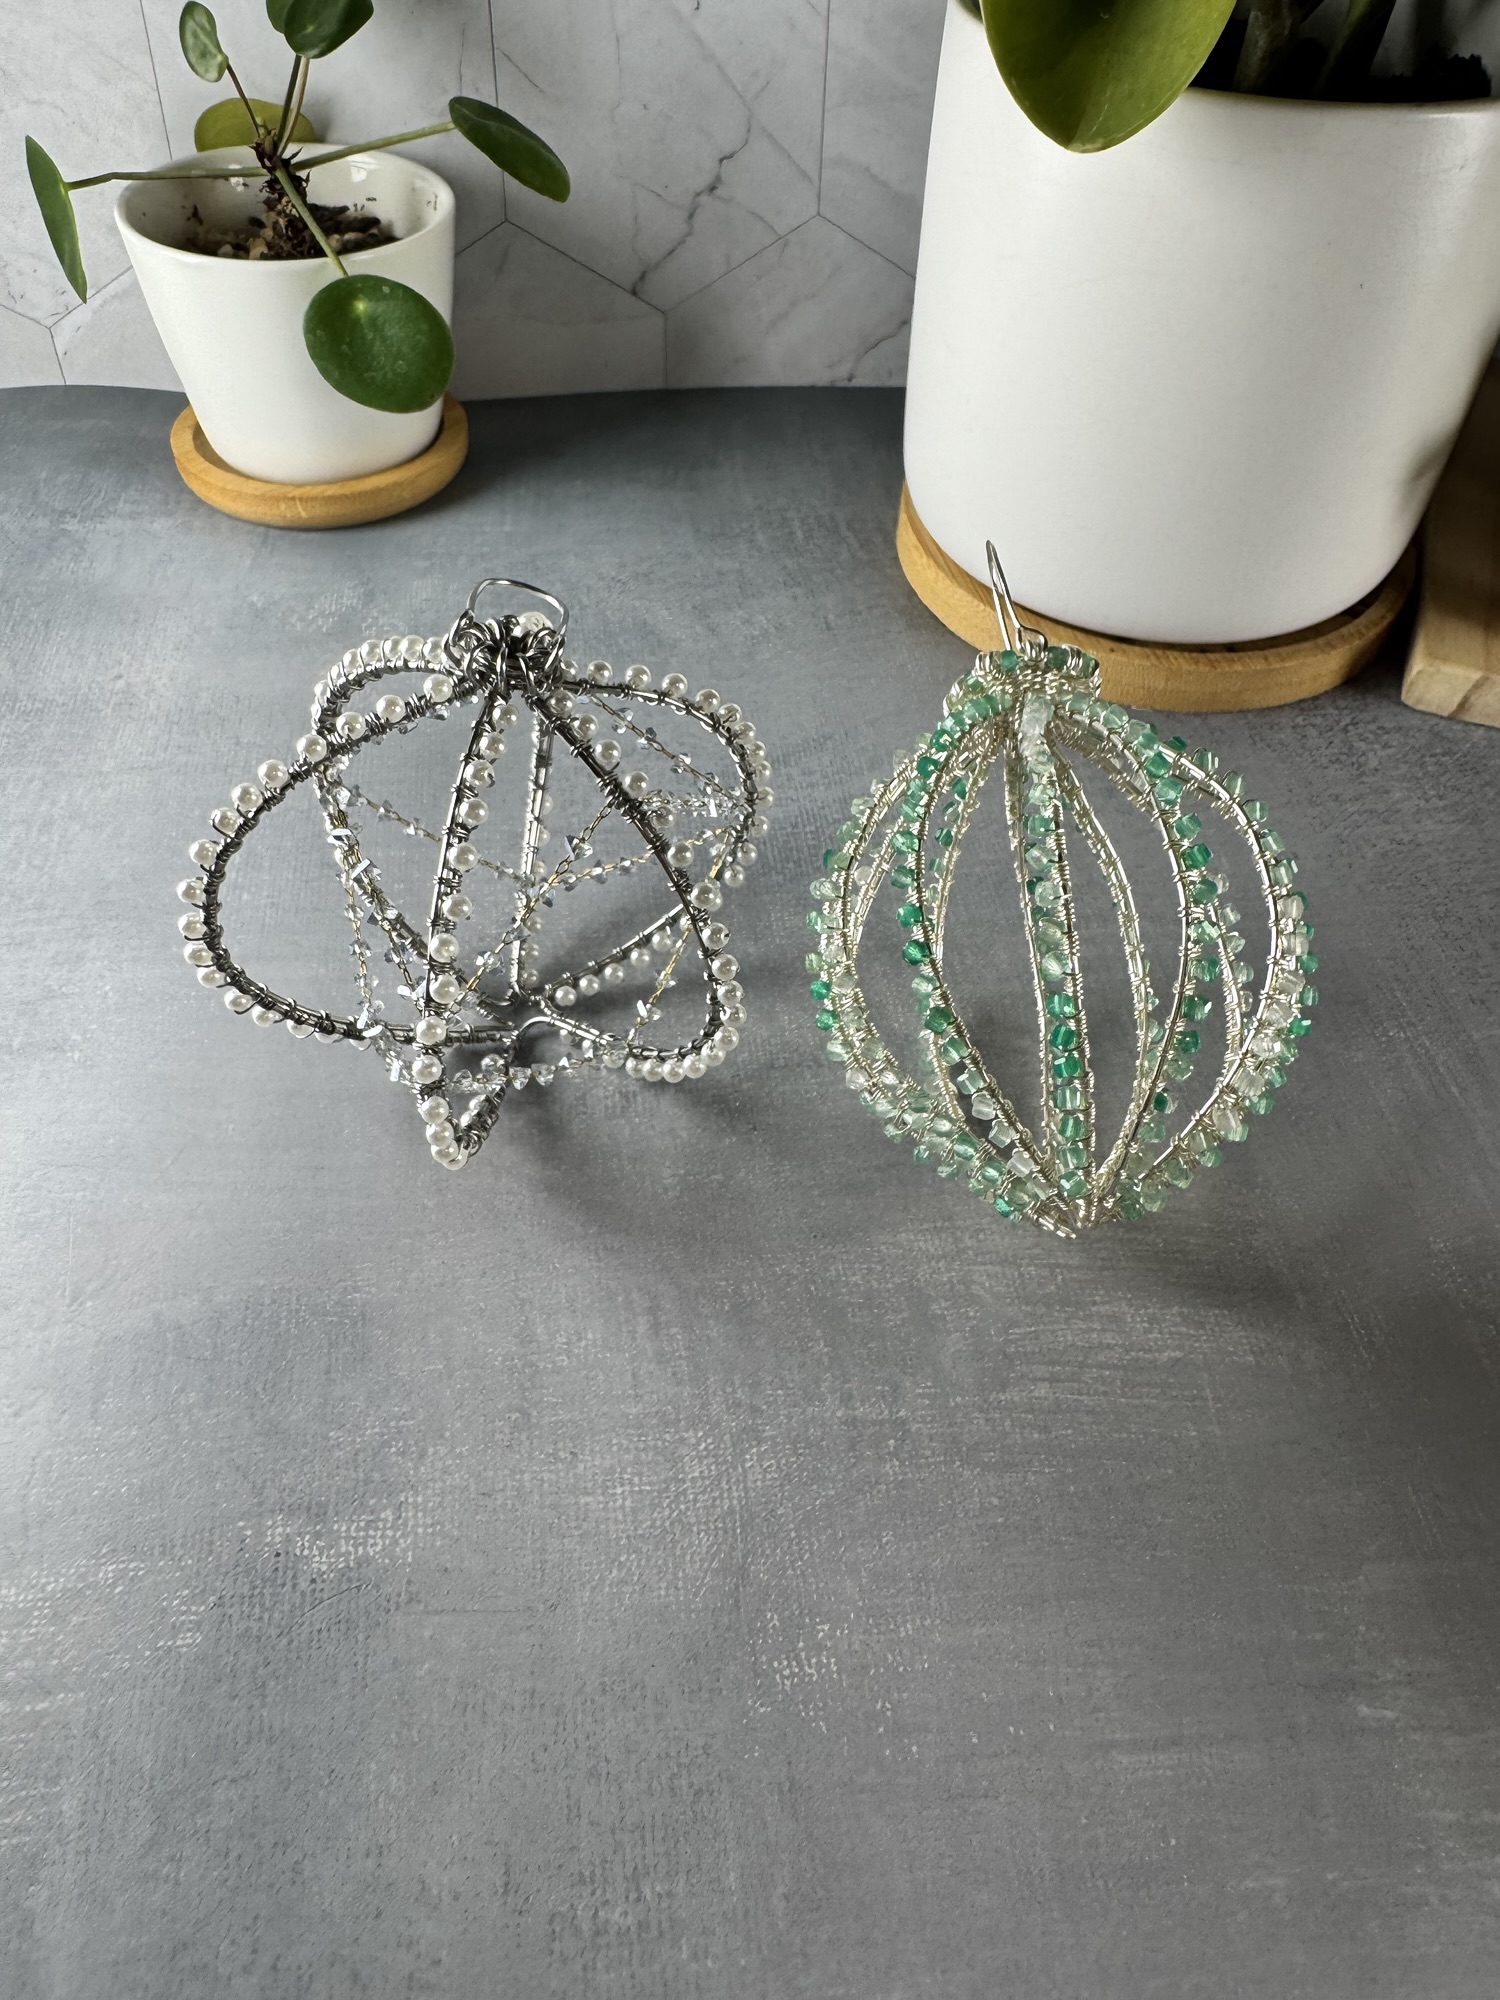
My first attempt, I used silver-plated copper wires in 1 mm and 0.4 mm, which translate to 18 gauge and 26 gauge. I used gradient-colored fluorite beads. They were 2 mm faceted cube beads. I cut up wires, folded them in half, and began to connect those two wires in the same manner I was doing earlier, adding the beads incrementally so that they were evenly spaced. At the end, I had 12 connected V’s all joined together on the side. The last step was to join the remaining side to the opposite side. I joined them together after I started shaping them into C’s—like the letter C, not the ocean.
The idea of how to form this is kind of like a beach ball. When you imagine a beach ball as a kid, you picture striped sections running vertically from top to bottom. So I imagined each side of the ornament as one of those stripes. I went ahead and connected the other side, and it formed a ball. Afterwards, I had to figure out how to connect the top together so that it came together neatly. I decided to weave it all around. The result came out cute, and this was the fluorite ornament I made.
When I had the idea of making this ornament, I did not have six hours of wrapping in mind. Now I’m thinking, is this worth it? Who would buy a $200 ornament? That’s the price it would need to be for it to come close to being worth my time.
My mission to make an heirloom Ornament.
At $200 an ornament, I thought to myself it had to be an heirloom ornament. My first ornament was made of fluorite and silver-plated copper. My first question was, would it withstand the test of time? I worried about the plating wearing off. I worried about the fluorite cracking. So I set myself on a mission to make something that would not increase the price but would endure for many generations. My first thought was a stainless steel ornament.
Prior to starting the new ornament, I did not imagine it would take as long as the first. Usually when you do something more than once, you get faster at it and get more bang for your buck. Unfortunately, this was not the case with stainless steel. I spent 14 hours on it!
The stainless steel was extremely harsh on my fingers and hands. The wires didn’t stay taut as easily, so I had to wrap them around my fingers each time I tightened them. I developed bruises and cuts. After about six edges, I decided I could not finish the original ornament design. I needed to diverge to save my hands.
The result of this mission was stainless steel ornaments with crystal pearls and glass beads strung on the inside. It came out gorgeous, but I don’t think I’ll ever make another one of these again.
How To Make This Ornament More Affordable
I knew it wasn’t going to be easy to make this more affordable without drastically changing my design. I didn’t want to change the design. Instead, I decided to teach the world how to do it. I went live on TikTok for three days and spent eight hours teaching my followers how to make these. I’m not sure if anyone is going to make one. I’m proud that I did it, and I hope more people will get to enjoy these.