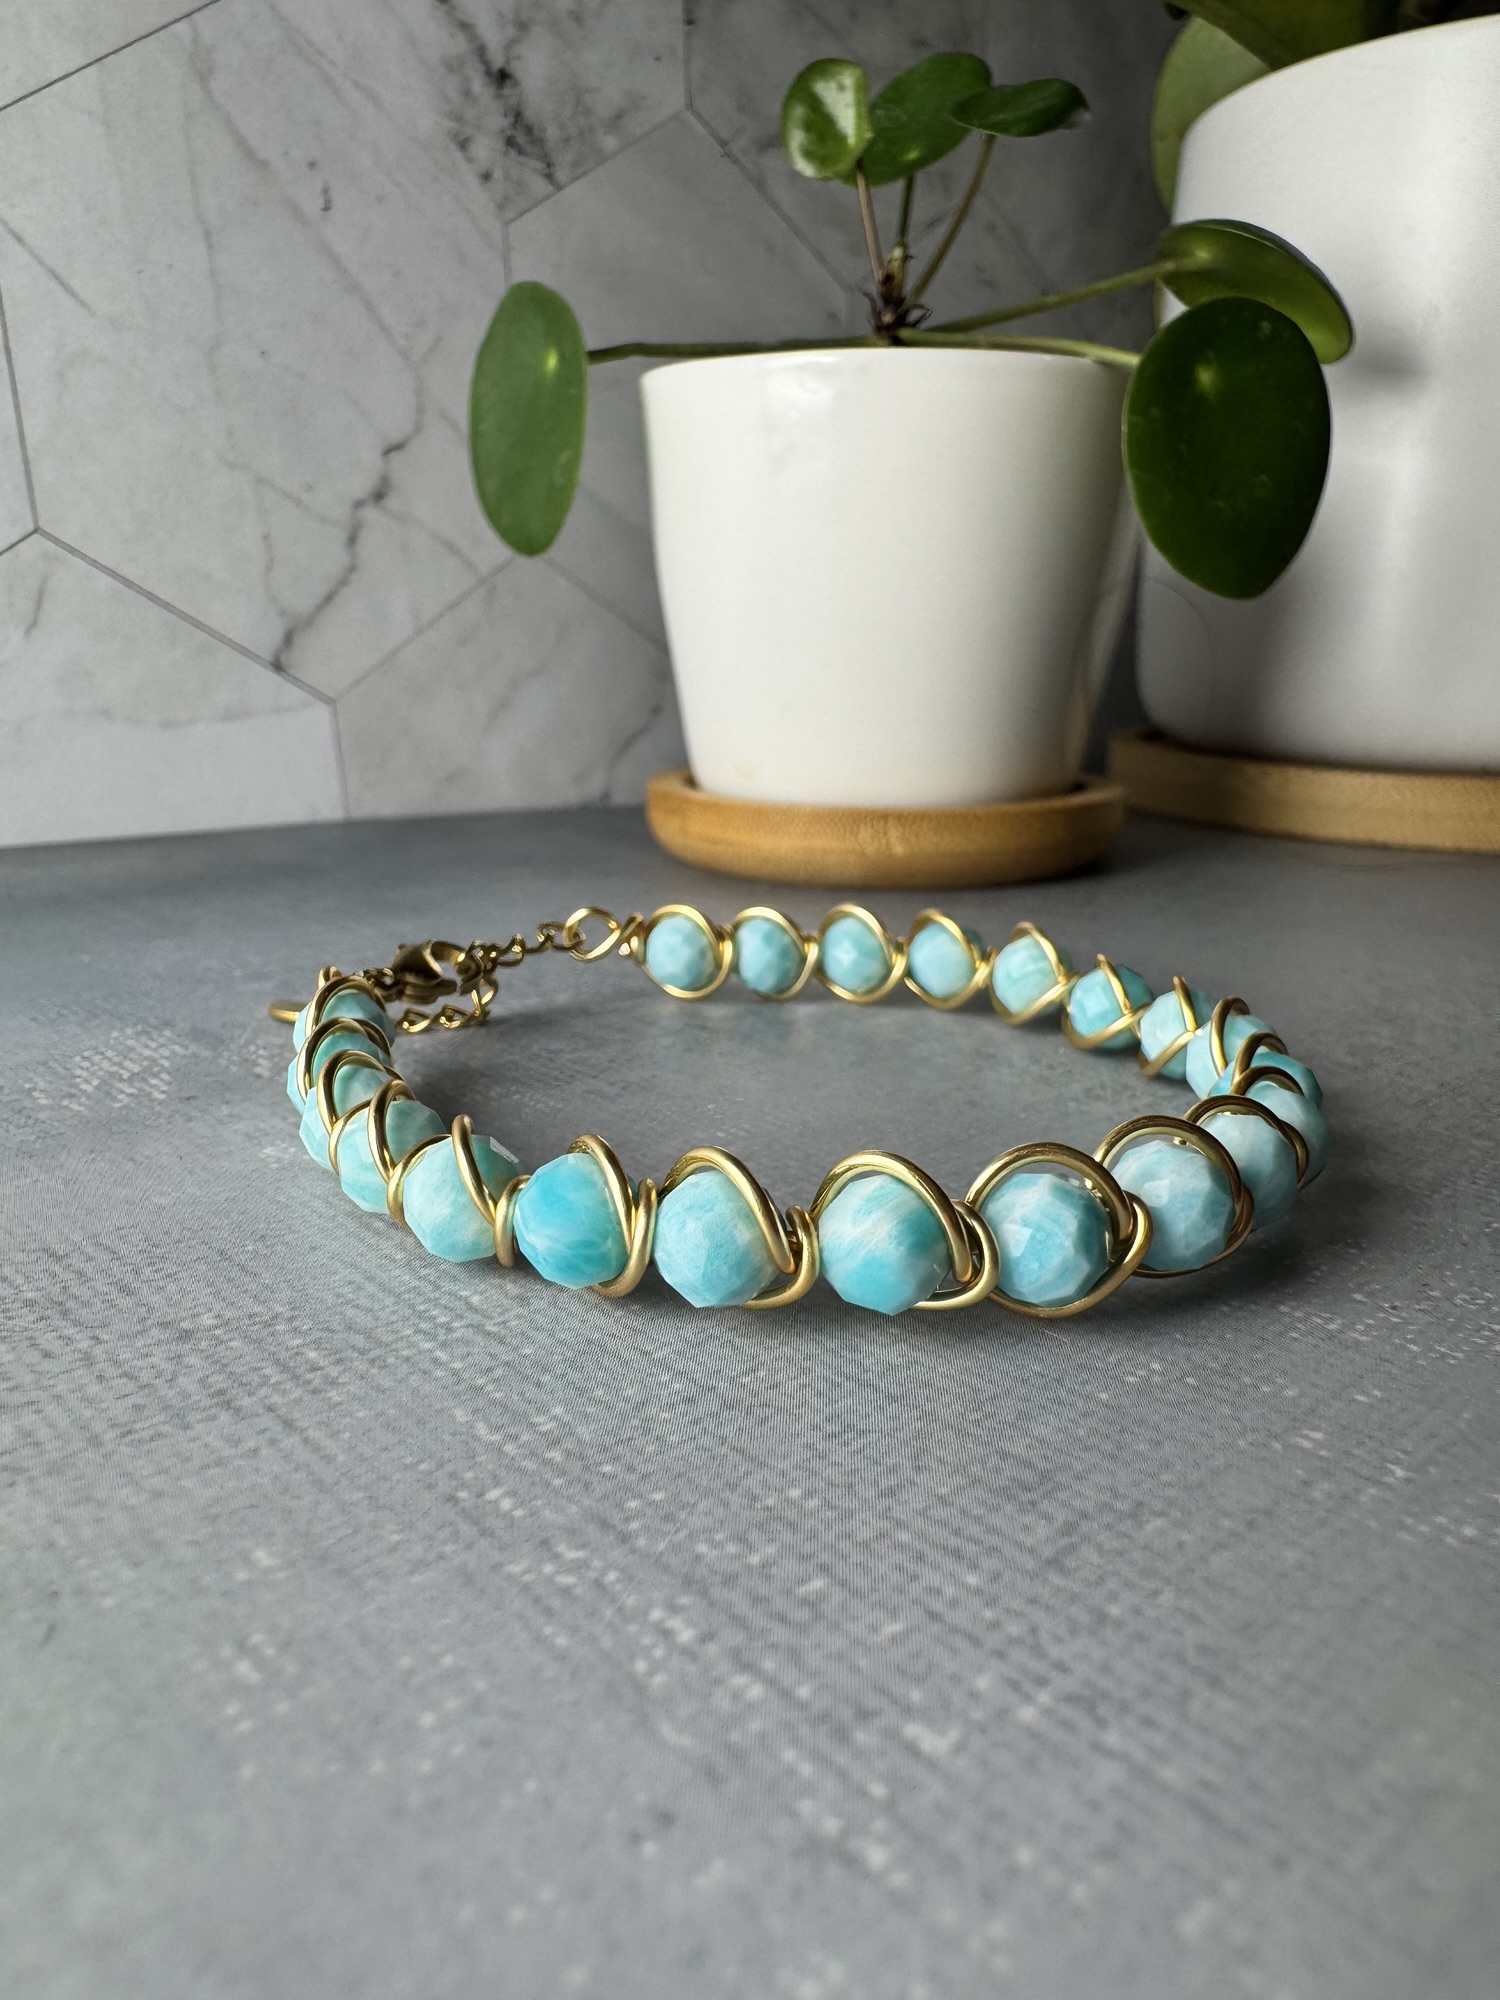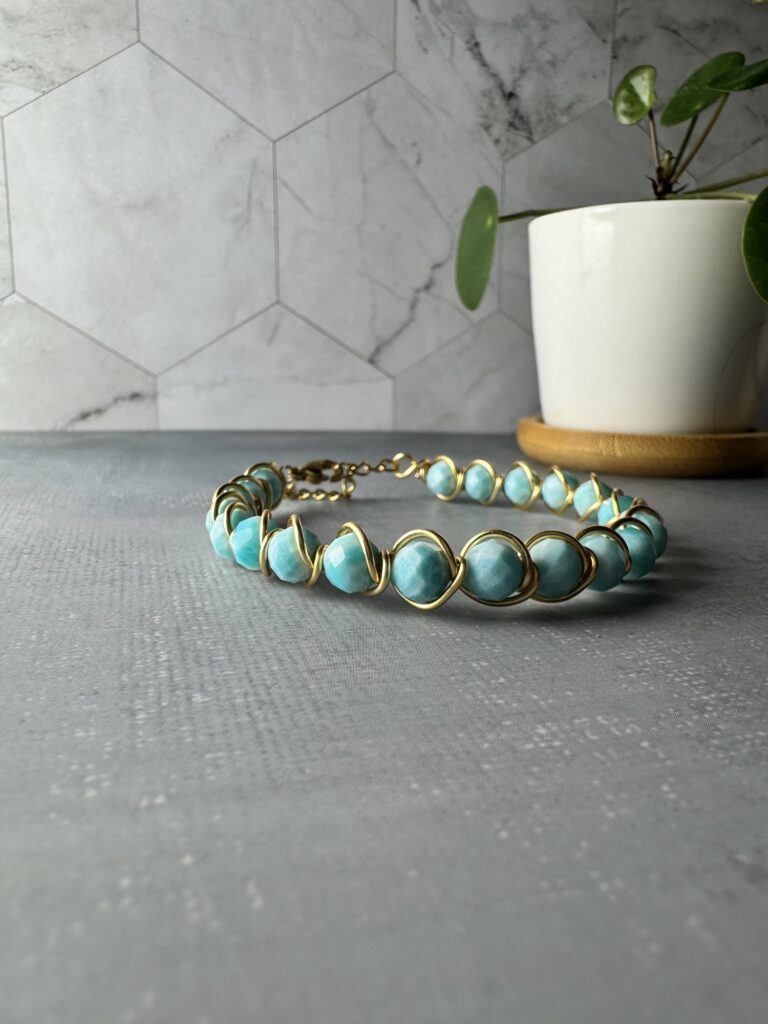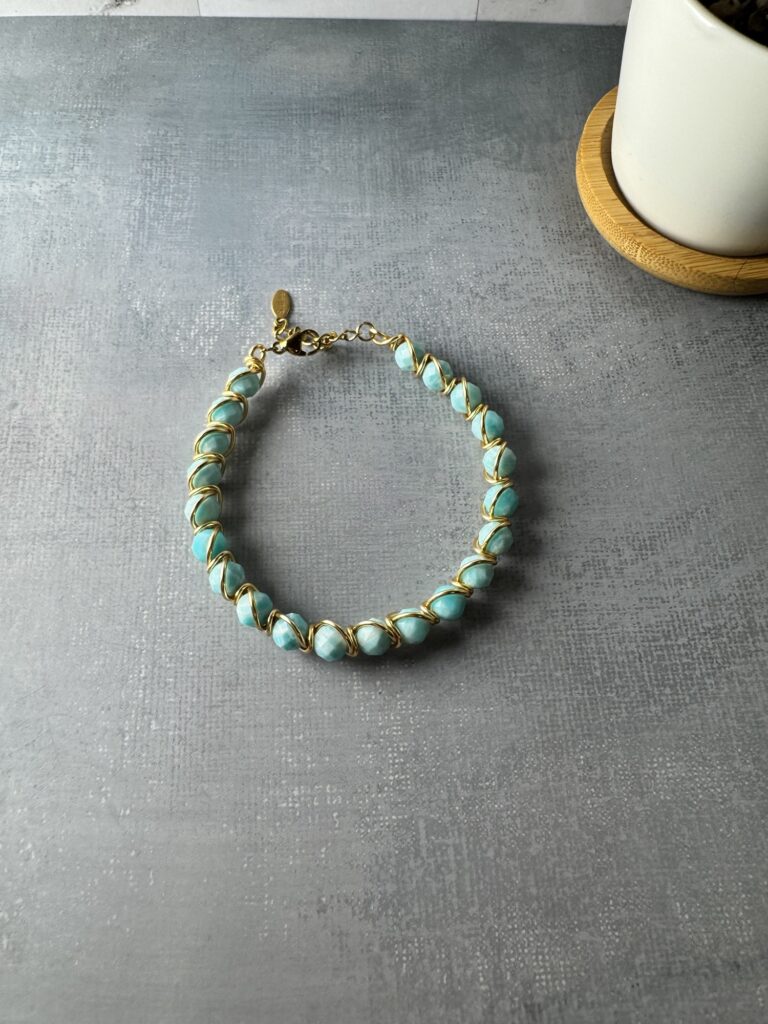
If you’re looking for a jewelry project that’s elegant yet simple to make, this Amazonite wire-wrapped bracelet is perfect. Designed for beginners and hobbyists alike, this bracelet uses calming blue-green Amazonite gemstones and a few basic tools to create a polished, professional-quality accessory.

What makes this design unique is its double wrapping technique: one pass wraps the beads clockwise, and the second pass wraps in the opposite direction, giving the bracelet a balanced, finished look from both sides.

Materials & Tools
1mm (18 gauge) wire (approx. 1 meter) Amazonite beads (enough to cover ~14 cm + extension chain) Nylon pliers (for straightening wire) Round nose pliers or loop-making pliers Flat nose pliers (pointed, for precision) Flush cutters Ruler
Instructions
1. Prepare the Wire
Cut about 1 meter (100 cm) of 1mm wire. Use nylon pliers to straighten it.
2. Segmenting
Fold into 3 equal parts to mark two folds — top and bottom. This helps with balance and symmetry.
3. First Loop
At one end, use round nose pliers to form a loop. Wrap the short end around the base of the loop clockwise three times to secure.
4. Add Beads
String Amazonite beads onto the long end, enough to cover the bracelet length (around 14 cm, plus a 5 cm extension if desired).
5. First Wrapping Direction
Push the first bead into place. Wrap the wire clockwise from back to front around the bead. Continue adding and wrapping each bead in the same direction. Keep your wraps tight and consistent.
6. Second Wrapping Direction (Symmetry Pass)
When you reach the final bead, flip the bracelet slightly. Begin wrapping along the other side of the beads, this time counter-clockwise from back to front. This creates a mirrored effect, giving the bracelet a balanced look and keeping beads snugly in place from both sides.
7. Final Loop
Once you’ve finished the second wrapping pass, form a final loop at the end. Secure with three counter-clockwise wraps, mirroring the first loop.
8. Finishing Touches
Trim excess wire with flush cutters. Use pliers to flatten ends and ensure there are no sharp edges.
Why You’ll Love This Project
✔️ Beginner-friendly yet polished
✔️ Fits most adult wrists (14 cm base with extender covers ~90%)
✔️ Teaches two key wire-wrapping techniques
✔️ Minimal tools required
Whether you make it for yourself or as a handmade gift, this Amazonite bracelet is a versatile and meaningful piece of jewelry. Don’t forget to check out the full video tutorial for a visual walkthrough!
👉 Watch the tutorial here:
Would you like me to also add a “Care Instructions” section at the bottom (like we’ve used in your other listings) so blog readers get tips on how to keep the bracelet looking new?