Posted on Leave a comment

DIY Amazonite Wire Bracelet – Step by Step Tutorial

If you’re looking for a jewelry project that’s elegant yet simple to make, this Amazonite wire-wrapped bracelet is perfect. Designed for beginners and hobbyists alike, this bracelet uses calming blue-green Amazonite gemstones and a few basic tools to create a polished, professional-quality accessory.
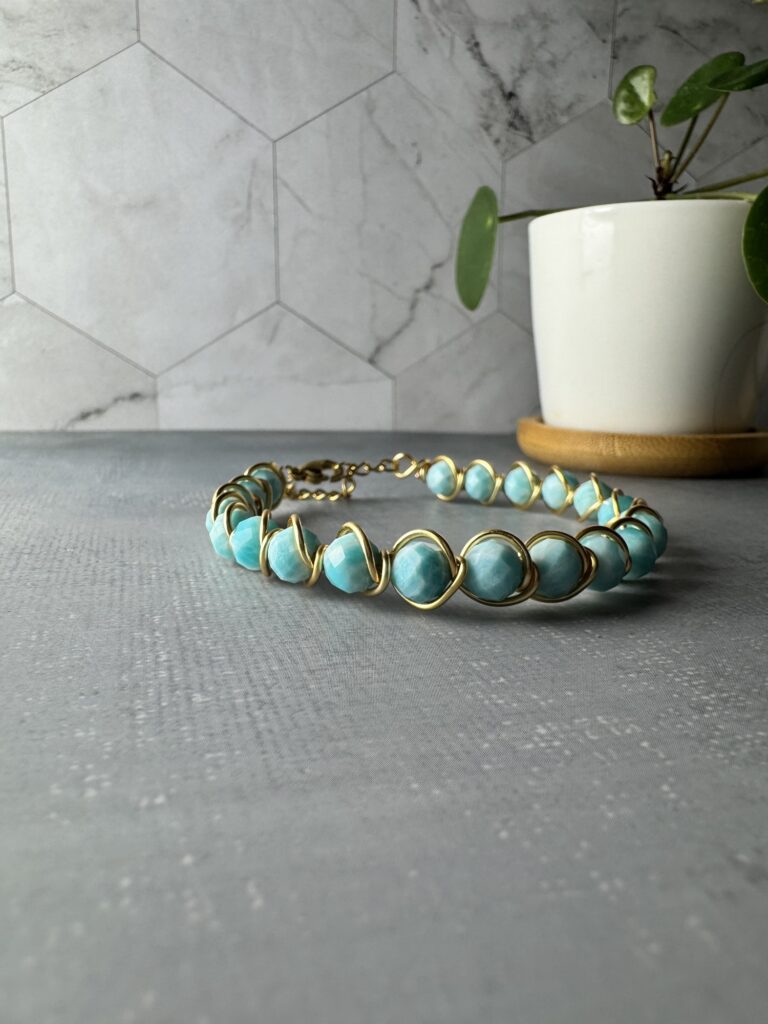
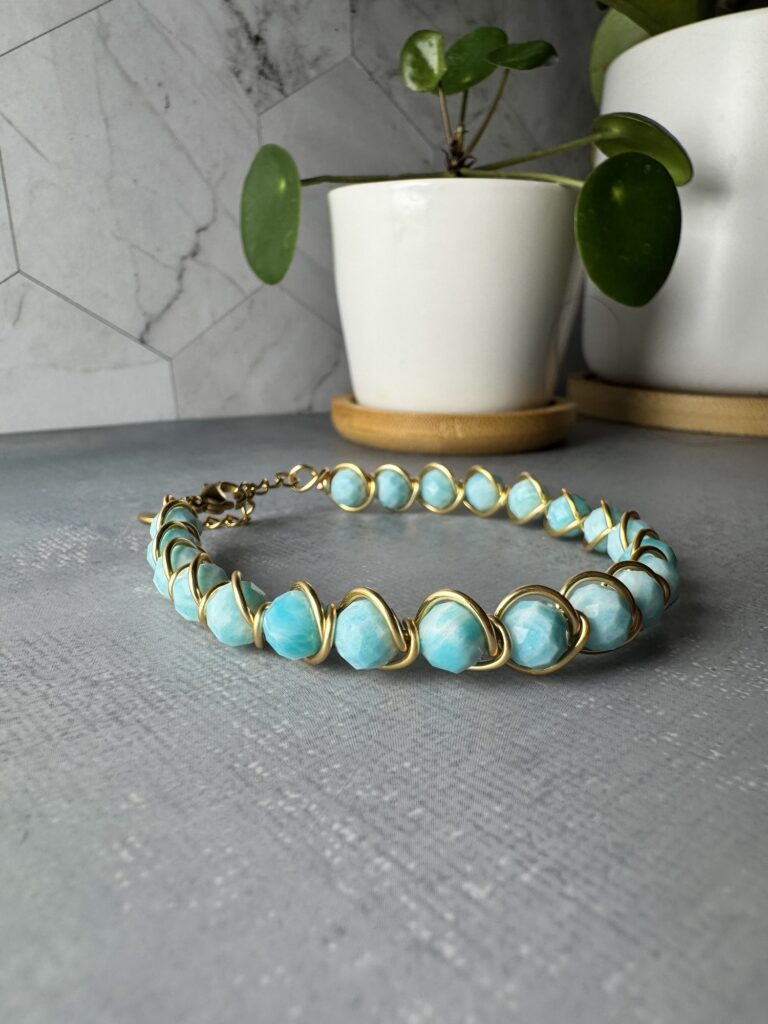
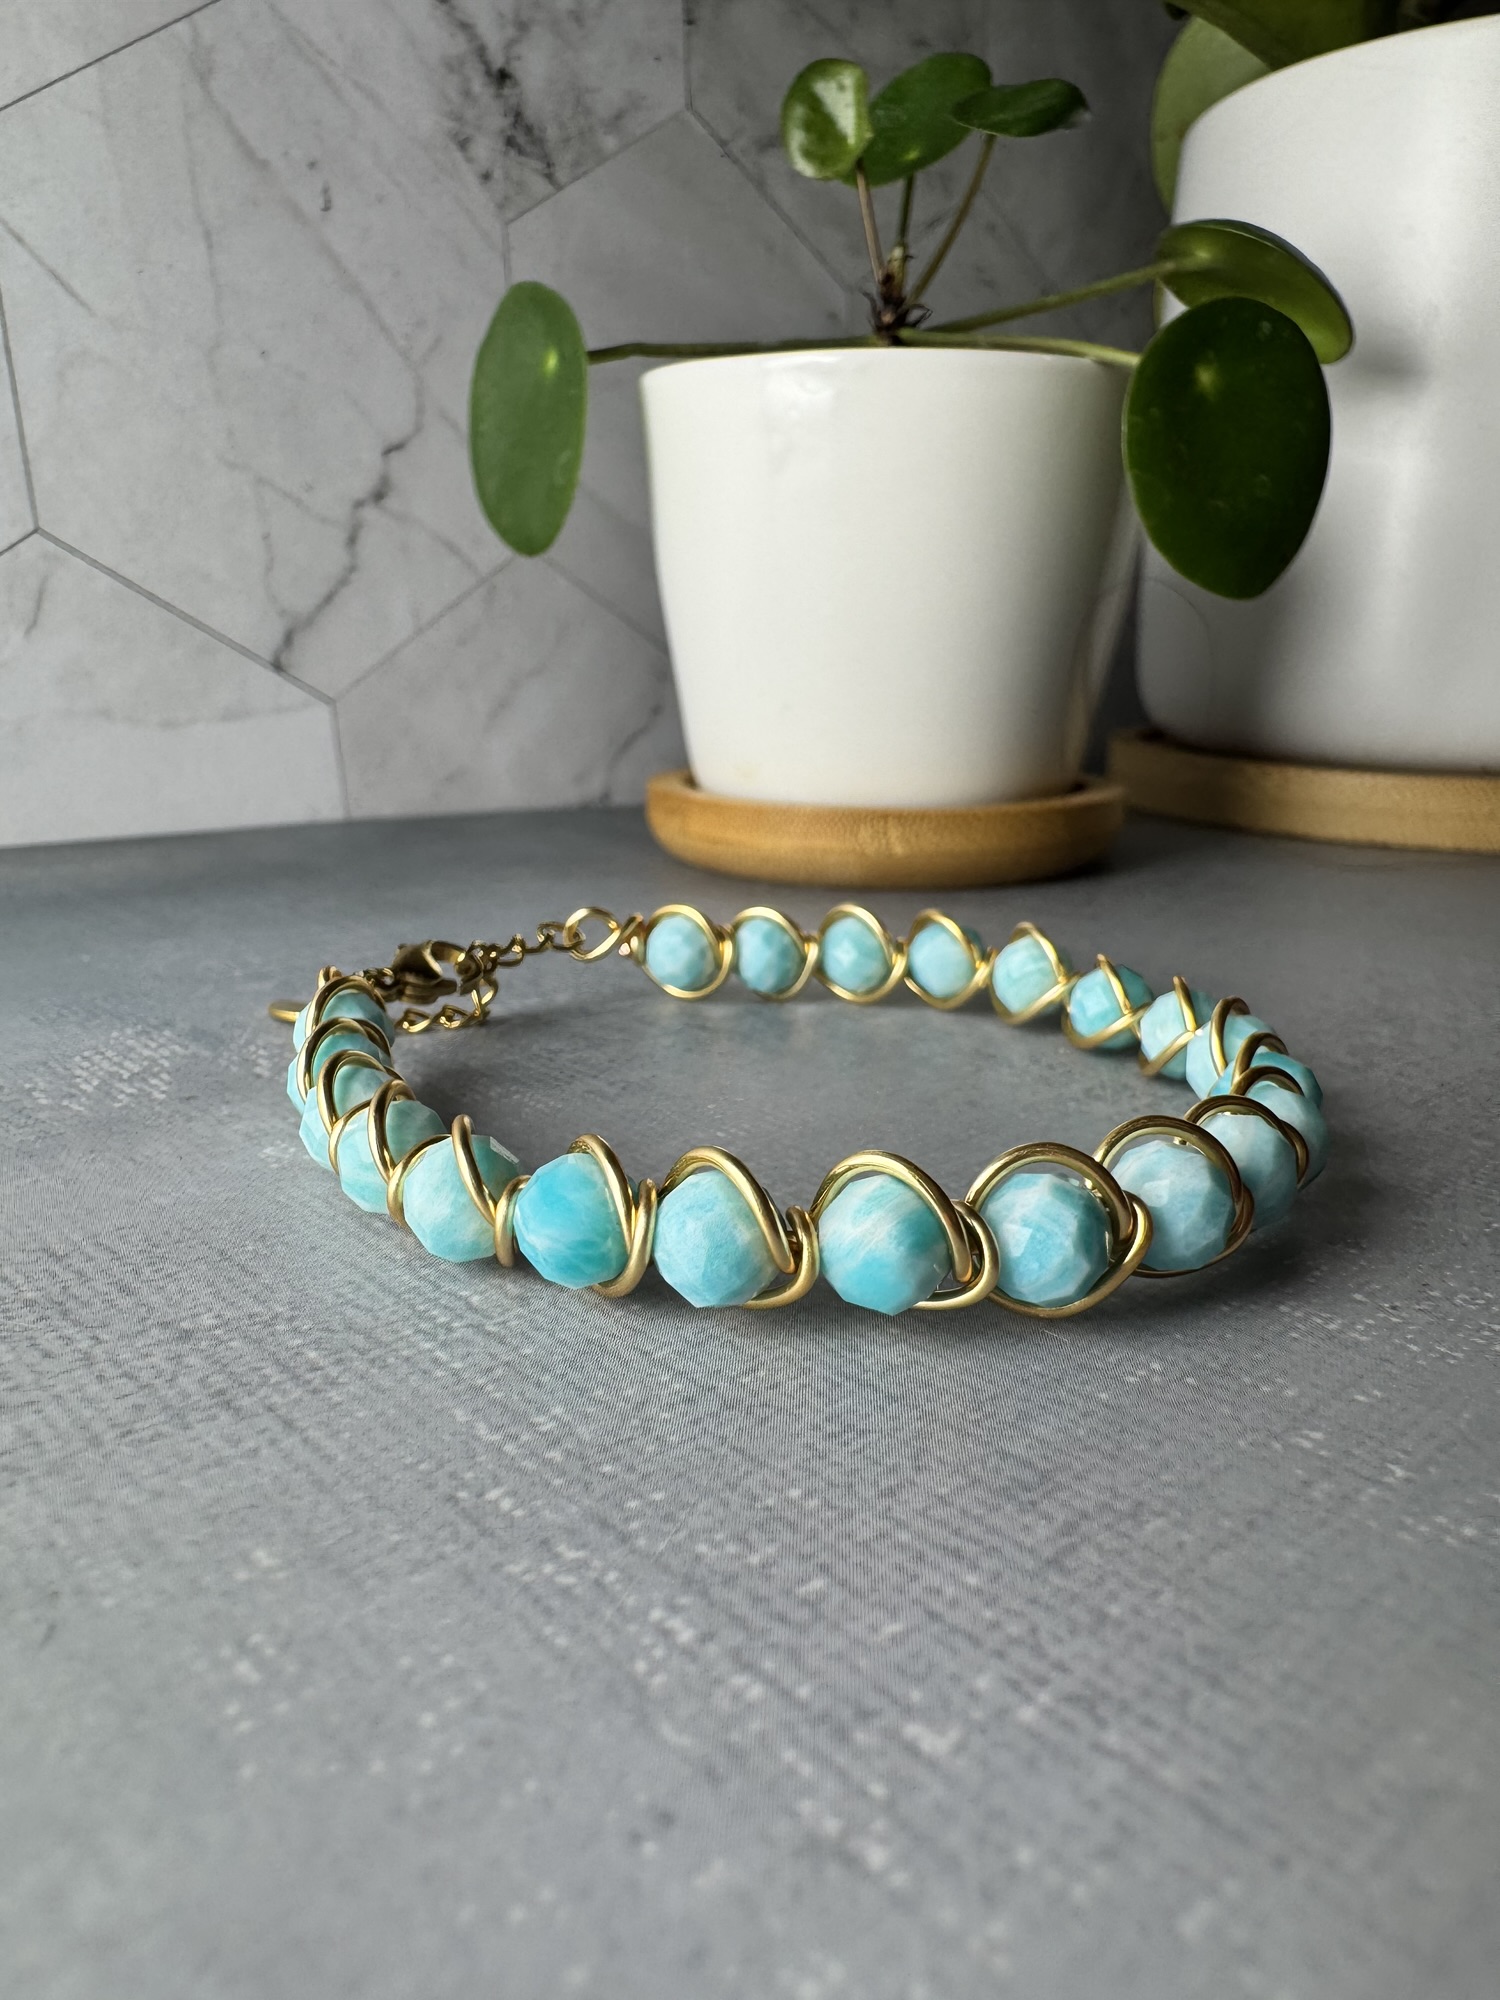
Amazonite Bracelet Made for This Tutorial

What makes this design unique is its double wrapping technique: one pass wraps the beads clockwise, and the second pass wraps in the opposite direction, giving the bracelet a balanced, finished look from both sides.
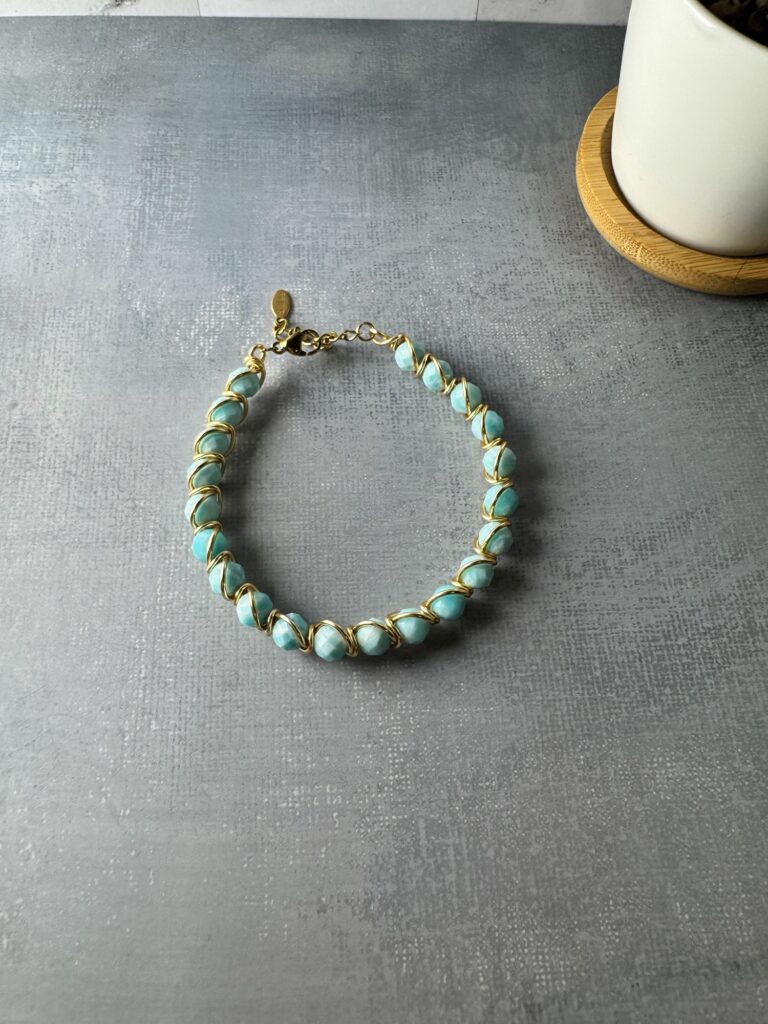
View of the bracelet from the top

Materials & Tools

1mm (18 gauge) wire (approx. 1 meter) Amazonite beads (enough to cover ~14 cm + extension chain) Nylon pliers (for straightening wire) Round nose pliers or loop-making pliers Flat nose pliers (pointed, for precision) Flush cutters Ruler

Instructions

1. Prepare the Wire

Cut about 1 meter (100 cm) of 1mm wire. Use nylon pliers to straighten it.

2. Segmenting

Fold into 3 equal parts to mark two folds — top and bottom. This helps with balance and symmetry.

3. First Loop

At one end, use round nose pliers to form a loop. Wrap the short end around the base of the loop clockwise three times to secure.

4. Add Beads

String Amazonite beads onto the long end, enough to cover the bracelet length (around 14 cm, plus a 5 cm extension if desired).

5. First Wrapping Direction

Push the first bead into place. Wrap the wire clockwise from back to front around the bead. Continue adding and wrapping each bead in the same direction. Keep your wraps tight and consistent.

6. Second Wrapping Direction (Symmetry Pass)

When you reach the final bead, flip the bracelet slightly. Begin wrapping along the other side of the beads, this time counter-clockwise from back to front. This creates a mirrored effect, giving the bracelet a balanced look and keeping beads snugly in place from both sides.

7. Final Loop

Once you’ve finished the second wrapping pass, form a final loop at the end. Secure with three counter-clockwise wraps, mirroring the first loop.

8. Finishing Touches

Trim excess wire with flush cutters. Use pliers to flatten ends and ensure there are no sharp edges.

Why You’ll Love This Project

✔️ Beginner-friendly yet polished

✔️ Fits most adult wrists (14 cm base with extender covers ~90%)

✔️ Teaches two key wire-wrapping techniques

✔️ Minimal tools required

Whether you make it for yourself or as a handmade gift, this Amazonite bracelet is a versatile and meaningful piece of jewelry. Don’t forget to check out the full video tutorial for a visual walkthrough!

👉 Watch the tutorial here:

Would you like me to also add a “Care Instructions” section at the bottom (like we’ve used in your other listings) so blog readers get tips on how to keep the bracelet looking new?
Posted on Leave a comment

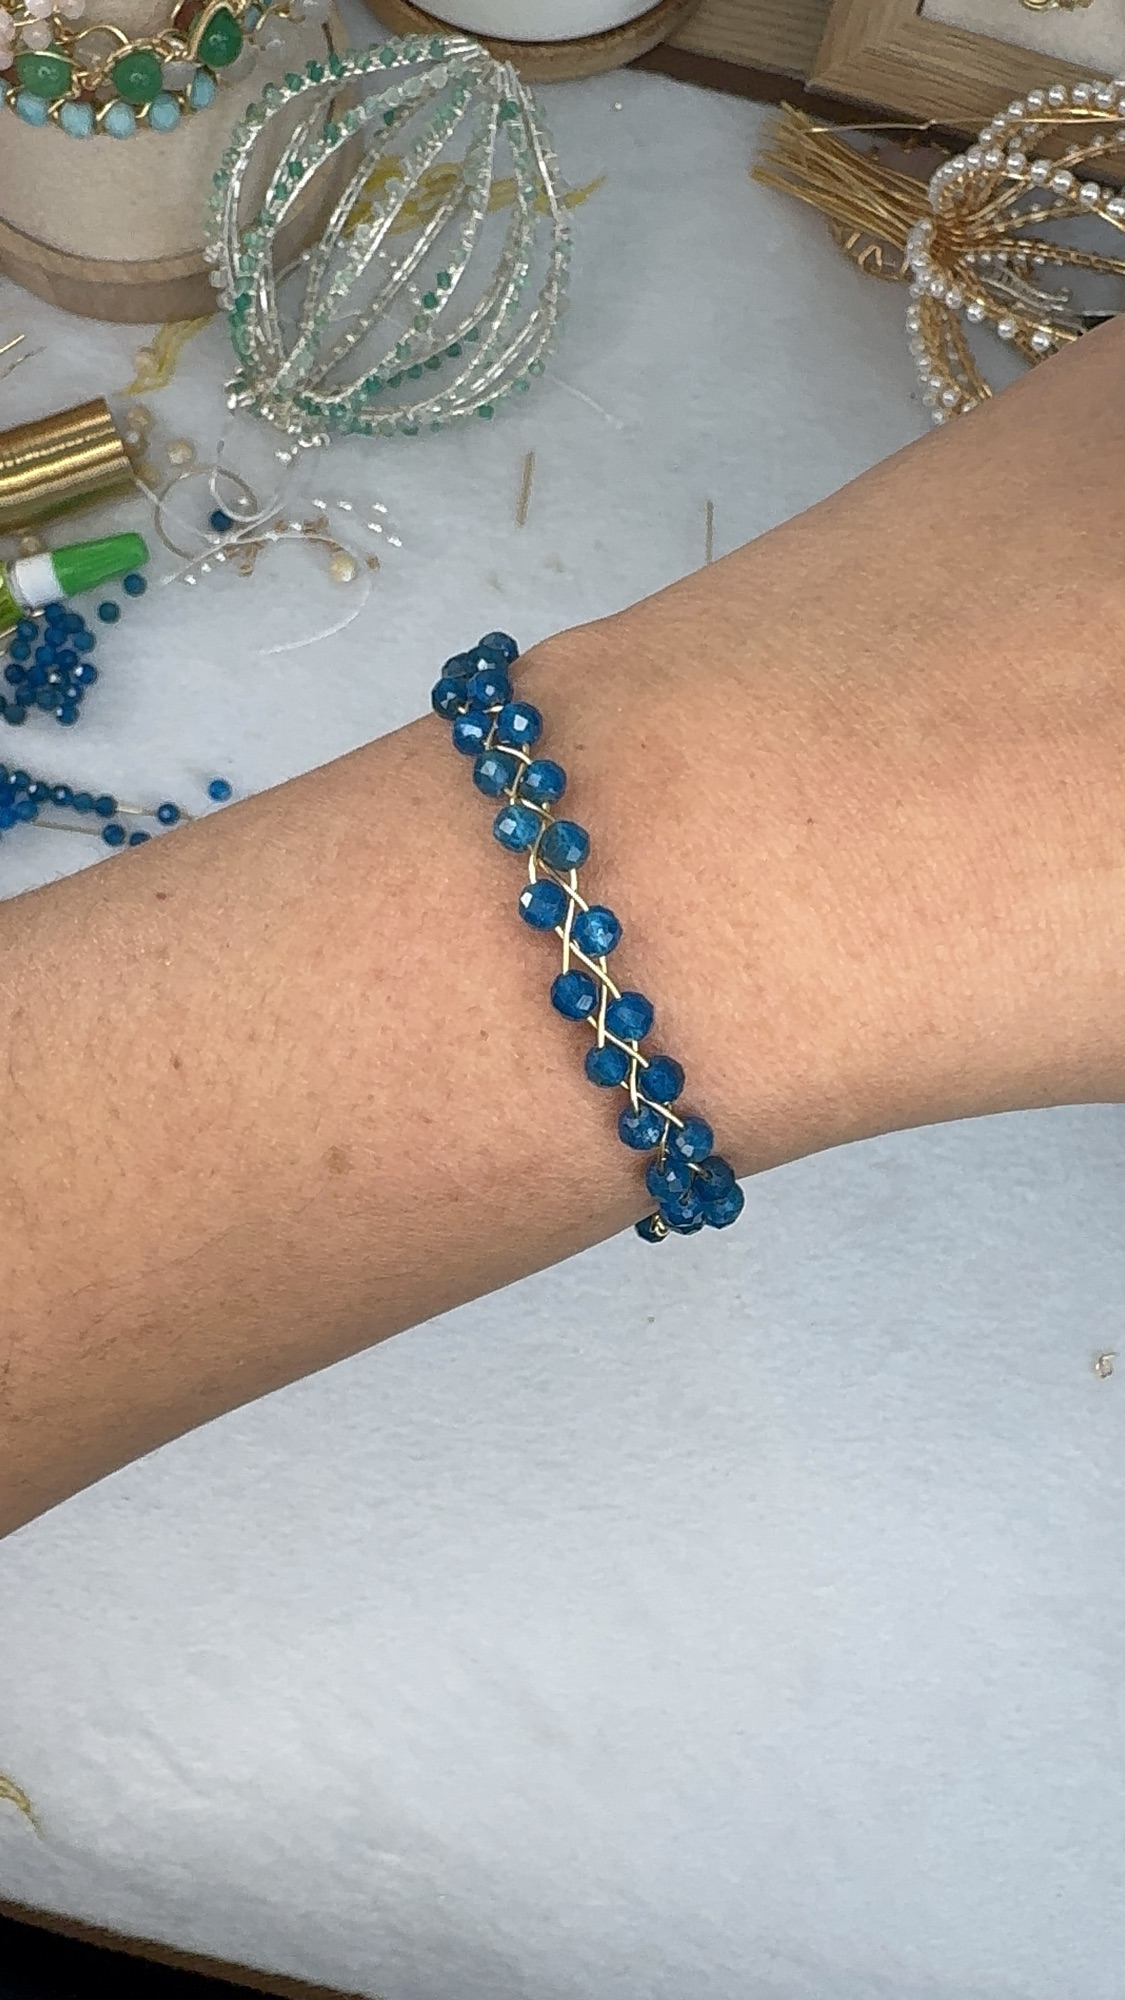
DIY Braided Blue Apatite Bracelet (Beginner-Friendly Tutorial)

Looking for a jewelry project that’s both beautiful and beginner-friendly? This braided Blue Apatite bracelet is the perfect choice. Using just 45 sparkling beads and a few basic tools, you can create a bracelet that looks elegant enough to gift, but simple enough to make with kids.

Whether you’re making it for yourself, a friend, or as a fun DIY activity, this tutorial will walk you through every step.

✨ Why You’ll Love This Project

Beginner-friendly: No advanced techniques required. Affordable: Uses only basic tools and a small bead count. Versatile: Works with different gemstones or bead colors. Gift-worthy: Handmade and personal, perfect for gifting.

🛠 Materials

  • 45 faceted 4mm Blue Apatite beads (15 beads × 3 strands)
  • 22-gauge (0.6mm) jewelry wire
  • 2 jump rings
  • 1 lobster clasp Optional charm

Tools

  • Nylon pliers (straightening wire)
  • Round nose pliers (forming loops)
  • Flush cutters (trimming wire)
  • Ruler (measuring wire lengths)

🧵 Step-by-Step Instructions

Step 1: Measure and Cut

  • Cut three equal lengths of 22-gauge wire.
  • Straighten with nylon pliers.
  • Secure one end of the wires together with a jump ring.

Step 2: String the Beads

  • Add 15 beads to each wire strand (45 total).
  • Slide them evenly down the wire.

Step 3: Start the Brai

  • Begin a basic three-strand braid.
  • Each time you cross a strand, slide a bead into place.

Step 4: Continue Braiding

  • Repeat until all beads are incorporated.
  • Adjust bead spacing to keep the braid neat.

Step 5: Finish the Ends

  • Twist wire ends neatly and trim excess.
  • Add the second jump ring to secure.

Step 6: Attach the Clasp & Charm

  • Use jump rings to connect a lobster clasp.
  • Optionally, add a charm for decorations

Step 7: Final Touches

  • Check for sharp edges and smooth with pliers.
  • Test the clasp for durability.

💡 Tips & Variations

Swap Blue Apatite for other gemstones like amethyst, garnet, or aventurine. Try gold or silver wire for a different look. Add multiple charms for a playful style.

🌟 Final Thoughts

This braided bracelet combines simplicity and elegance in a project you can finish in under an hour. Once you’ve mastered the technique, you can experiment with different stones and colors to create your own unique variations.

Handmade jewelry carries a special touch, and this bracelet is a wonderful way to showcase your creativity.

Posted on Leave a comment

Is it too early to make Ornaments?

Last week, I suddenly had the urge to make ornaments—even though Halloween hasn’t even arrived yet. I’m not sure why I decided it was the best time to start making them. I’ve been trying to come up with ideas for fall and the upcoming events, but nothing really inspired me. Then, as I was playing around with my wires, I unexpectedly felt inspired to create ornaments.

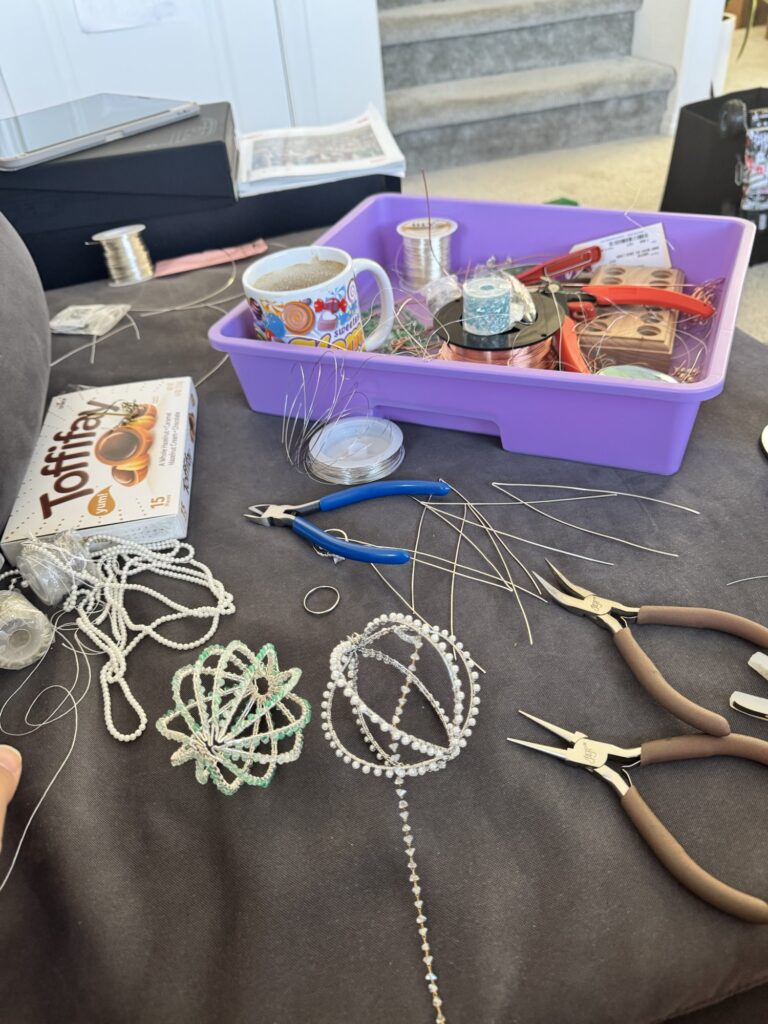
I made a huge mess all over the house this weekend making ornaments everywhere

I started wrapping wires and beads onto two pieces of metal with no clear direction in mind. At first, I thought maybe I was making a ring, maybe a bracelet. Then suddenly I looked at it and thought, Oh, this might actually be cute as an ornament—but how would I make it work? I kept wrapping anyway and told myself, Yes, this will be cute as an ornament, but how can I make it look like one?

I began doing some research online, but there weren’t many ornaments in the shape I was imagining. Most of the wire ornaments I found were shaped like Christmas trees, angels, or stars. I really wanted to create that classic round ornament—but with my own twist.

After looking through so many pictures of different ornaments, I decided I was just going to wing it and see if it was even possible. Then I started wondering, should I be making things like spiders, cauldrons, and witches? But it’s not even Halloween yet—it’s only September. That’s when I reminded myself: if I want these ornaments ready for Christmas—by late November or early December, so they’re available for anyone who might want to purchase them—I have to start now.

My First Attempt At Making An Ornament.

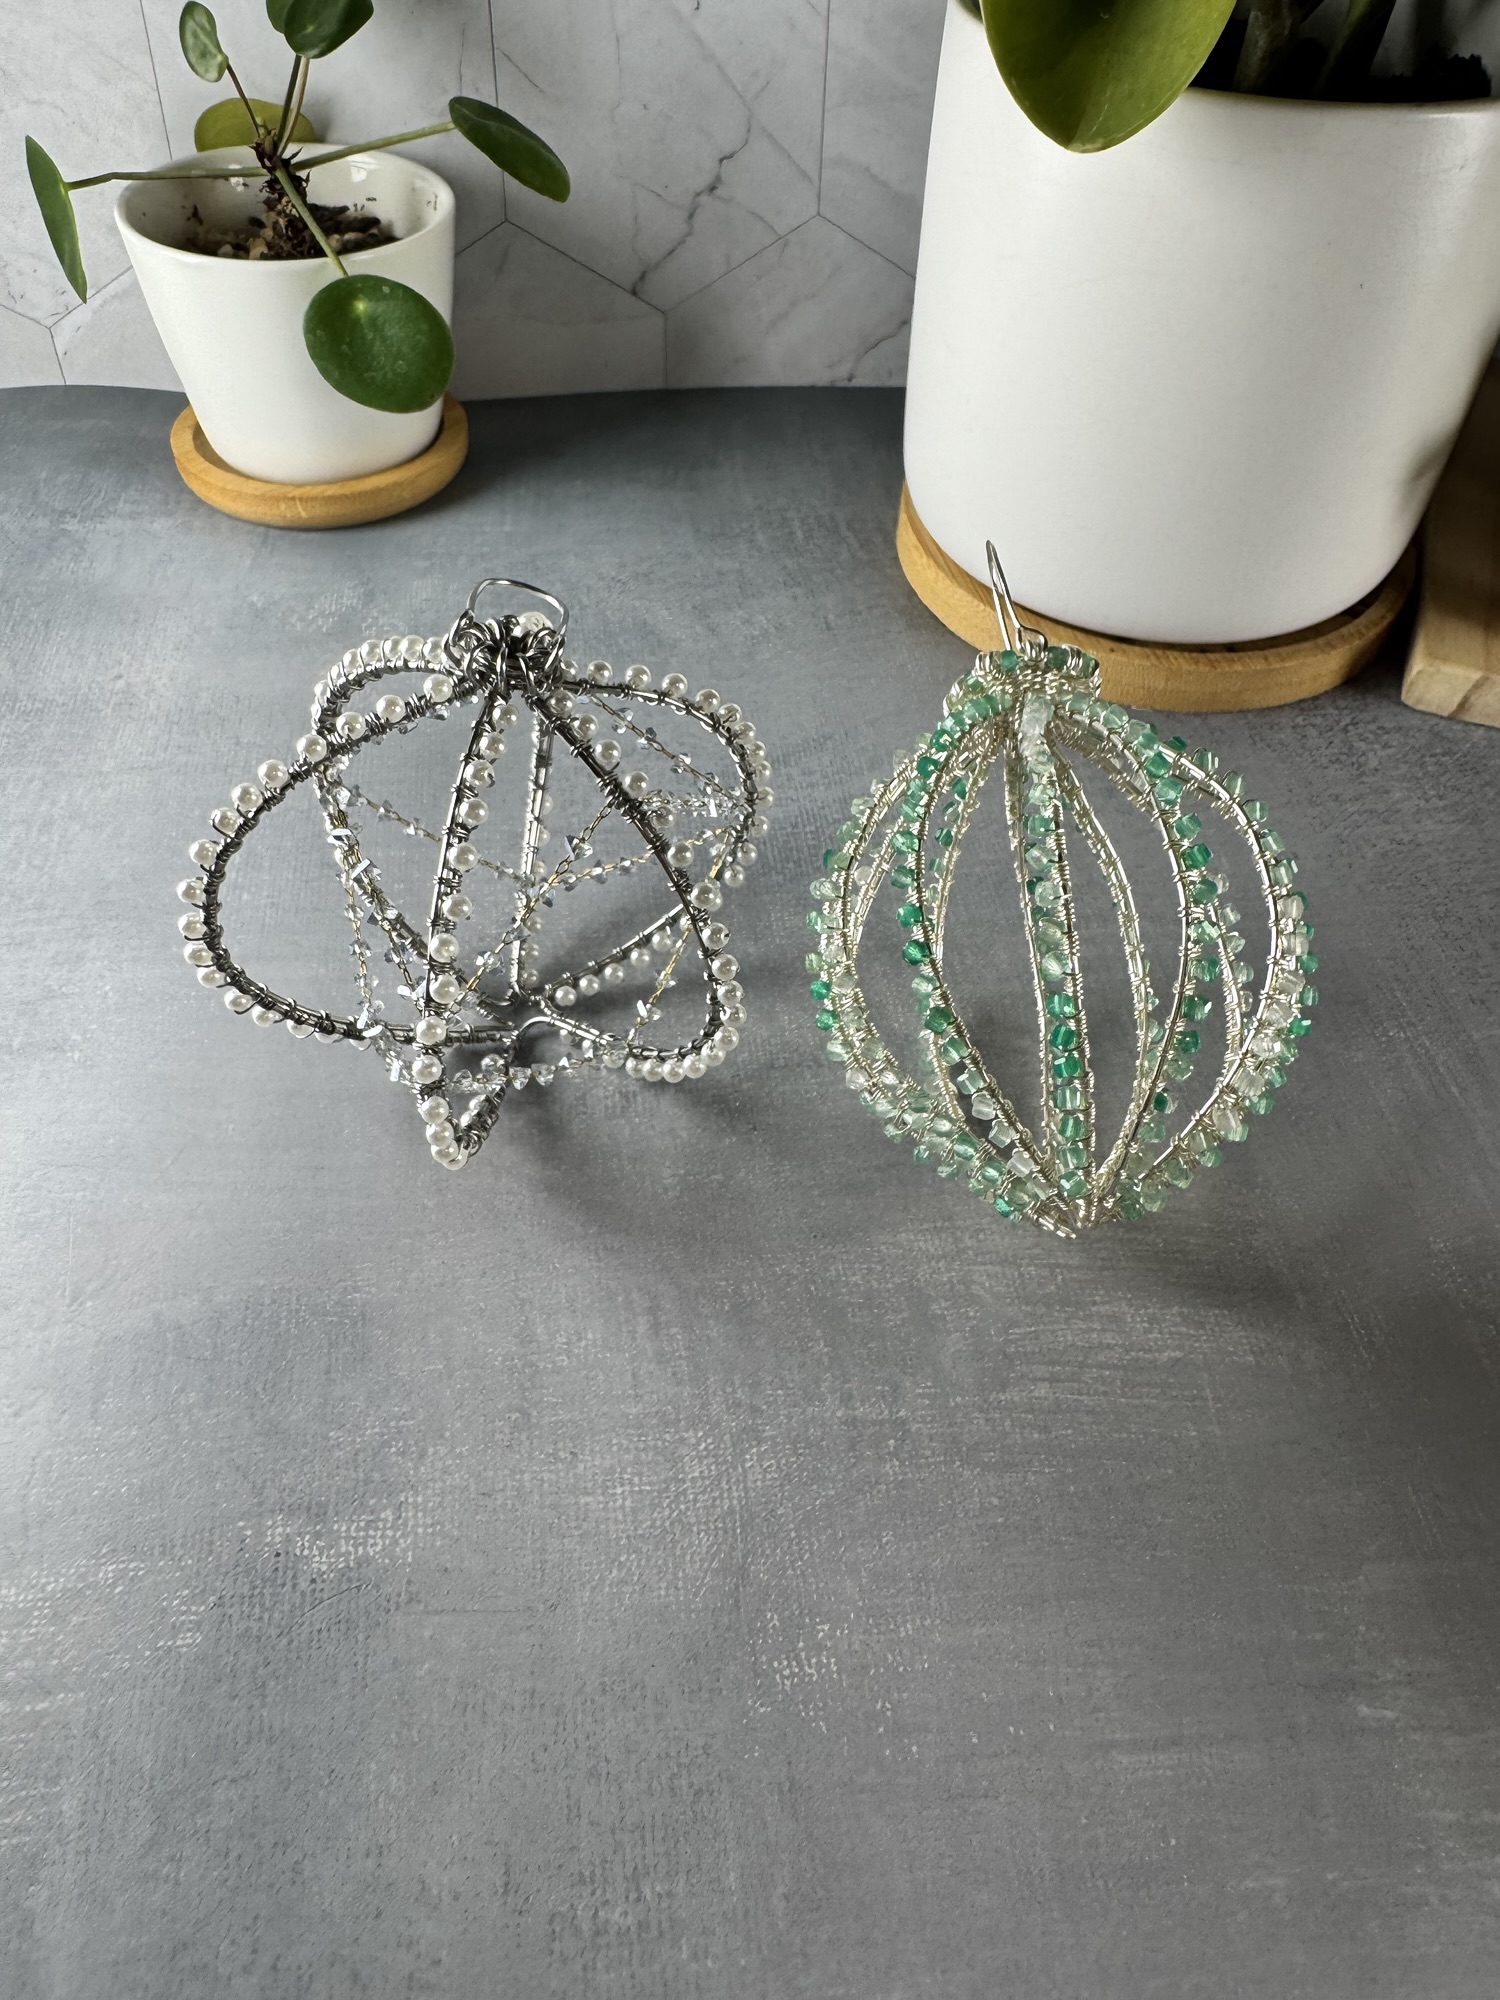
My first attempt, I used silver-plated copper wires in 1 mm and 0.4 mm, which translate to 18 gauge and 26 gauge. I used gradient-colored fluorite beads. They were 2 mm faceted cube beads. I cut up wires, folded them in half, and began to connect those two wires in the same manner I was doing earlier, adding the beads incrementally so that they were evenly spaced. At the end, I had 12 connected V’s all joined together on the side. The last step was to join the remaining side to the opposite side. I joined them together after I started shaping them into C’s—like the letter C, not the ocean.

The idea of how to form this is kind of like a beach ball. When you imagine a beach ball as a kid, you picture striped sections running vertically from top to bottom. So I imagined each side of the ornament as one of those stripes. I went ahead and connected the other side, and it formed a ball. Afterwards, I had to figure out how to connect the top together so that it came together neatly. I decided to weave it all around. The result came out cute, and this was the fluorite ornament I made.

When I had the idea of making this ornament, I did not have six hours of wrapping in mind. Now I’m thinking, is this worth it? Who would buy a $200 ornament? That’s the price it would need to be for it to come close to being worth my time.

My mission to make an heirloom Ornament.

At $200 an ornament, I thought to myself it had to be an heirloom ornament. My first ornament was made of fluorite and silver-plated copper. My first question was, would it withstand the test of time? I worried about the plating wearing off. I worried about the fluorite cracking. So I set myself on a mission to make something that would not increase the price but would endure for many generations. My first thought was a stainless steel ornament.

Prior to starting the new ornament, I did not imagine it would take as long as the first. Usually when you do something more than once, you get faster at it and get more bang for your buck. Unfortunately, this was not the case with stainless steel. I spent 14 hours on it!

The stainless steel was extremely harsh on my fingers and hands. The wires didn’t stay taut as easily, so I had to wrap them around my fingers each time I tightened them. I developed bruises and cuts. After about six edges, I decided I could not finish the original ornament design. I needed to diverge to save my hands.

The result of this mission was stainless steel ornaments with crystal pearls and glass beads strung on the inside. It came out gorgeous, but I don’t think I’ll ever make another one of these again.

How To Make This Ornament More Affordable

I knew it wasn’t going to be easy to make this more affordable without drastically changing my design. I didn’t want to change the design. Instead, I decided to teach the world how to do it. I went live on TikTok for three days and spent eight hours teaching my followers how to make these. I’m not sure if anyone is going to make one. I’m proud that I did it, and I hope more people will get to enjoy these.

Posted on

Labor Day Weekend Jewelry Making Marathon

This past labor day weekend I made it a mission to enjoy my time off. I’m a software developer and during my morning on the weekdays that is what I do. I love developing and designing software but at the end of the day, even if I love my job l, it is still a job and it comes with stressors. Sometimes I try to build something just for fun, but it’s hard to disengage from that feeling of this is a job. This is where making jewelry comes in and saves me. It is definitely an outlet where I can design and create without the pressure of something “needing” to be done.

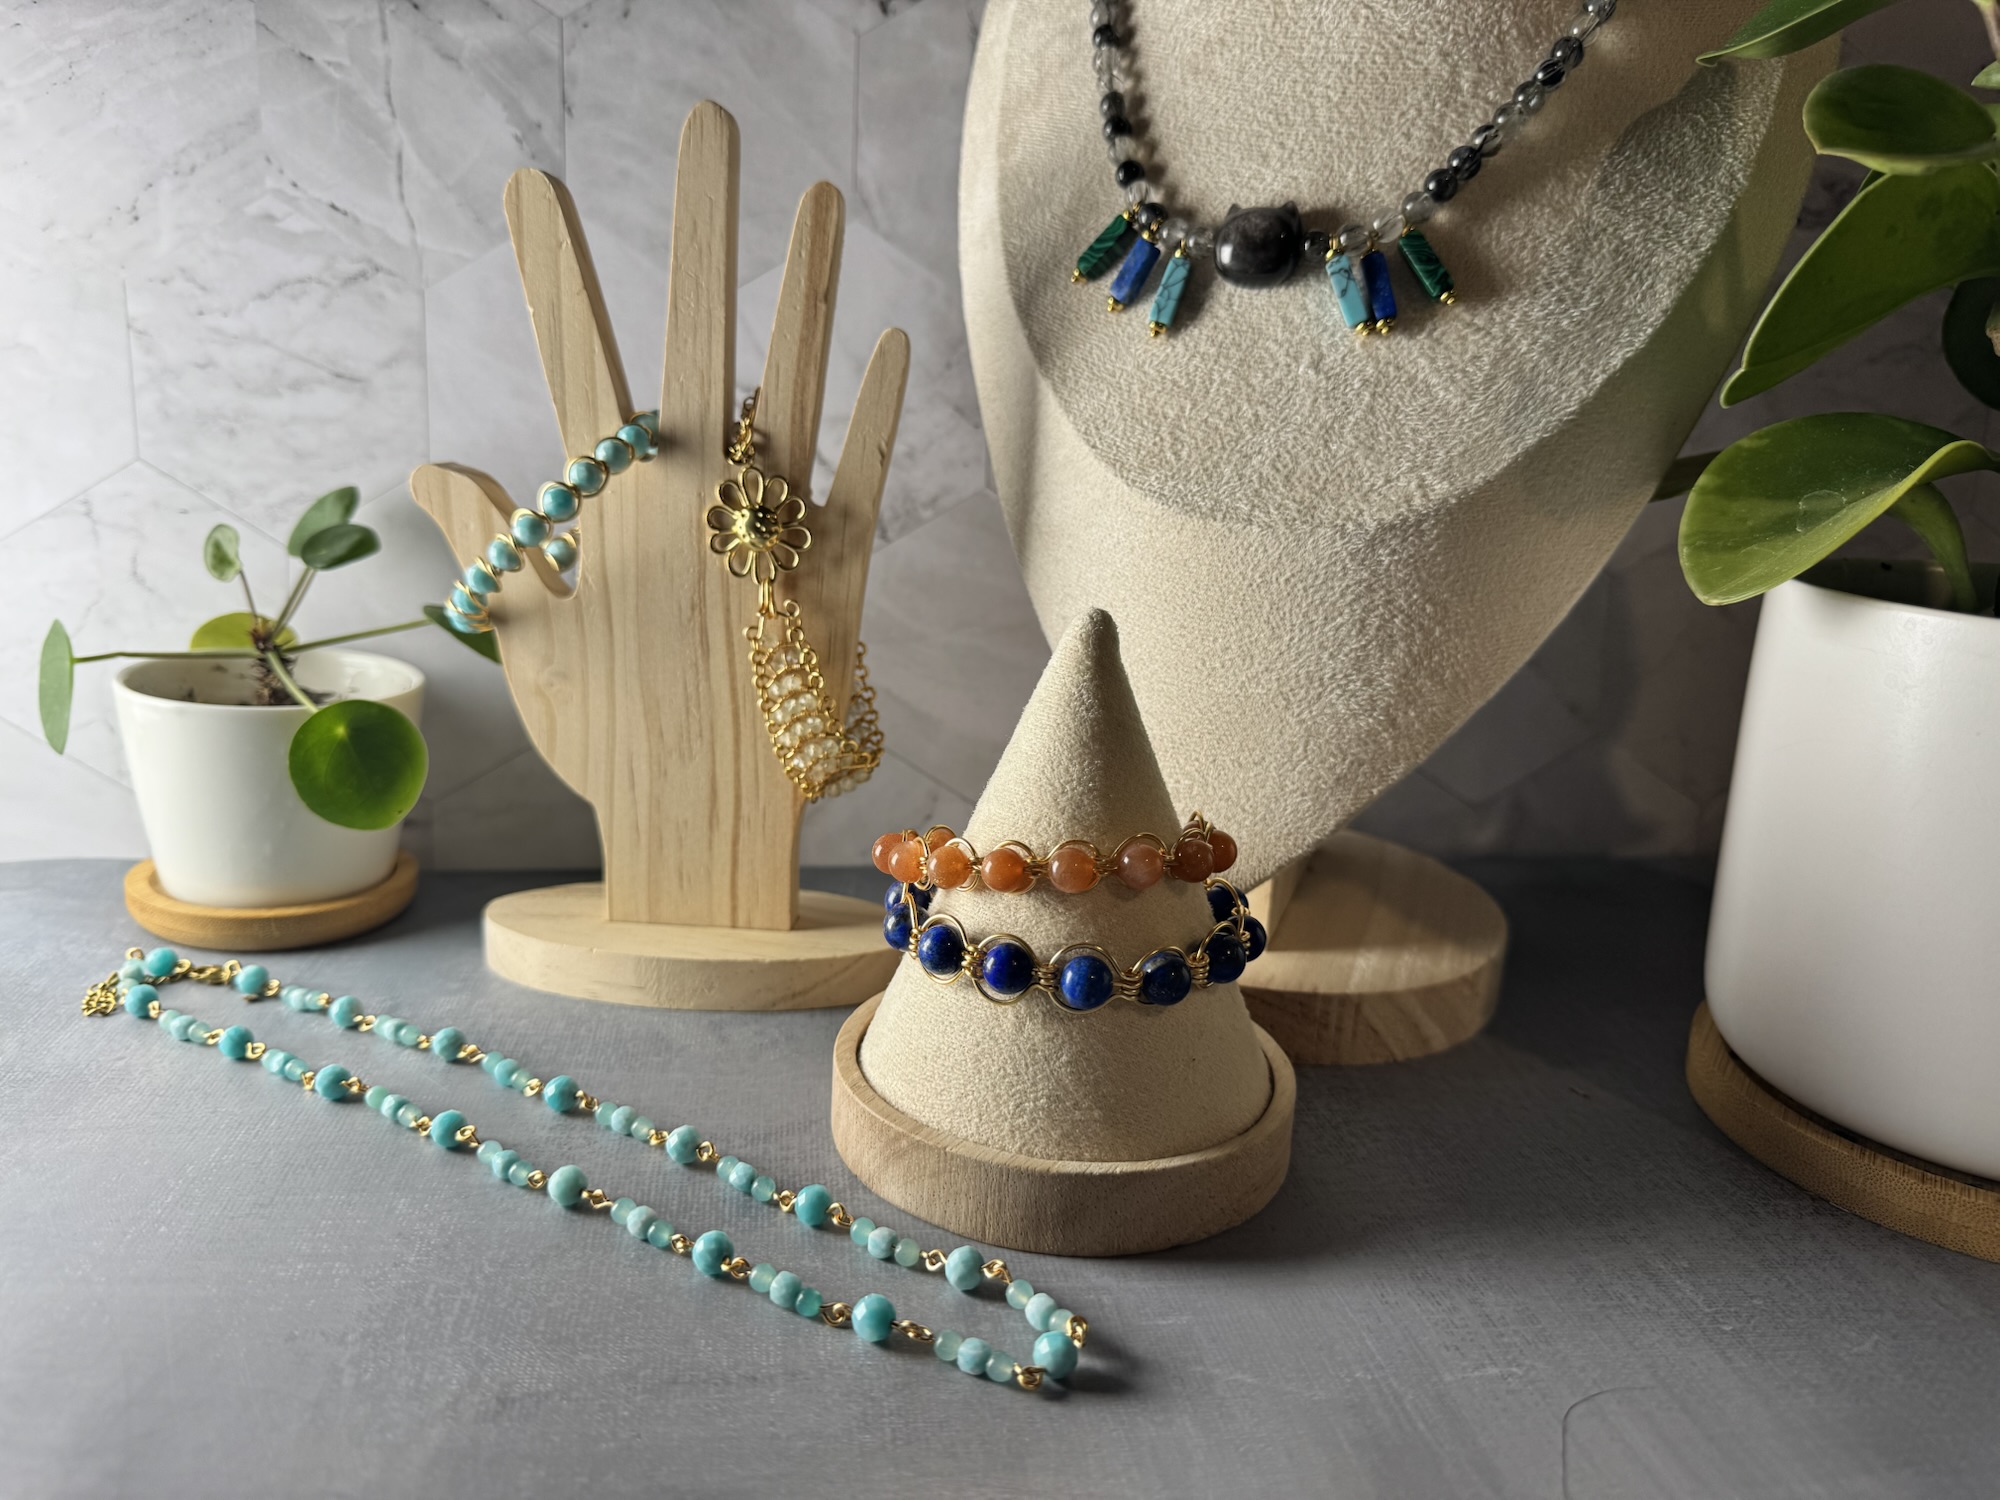
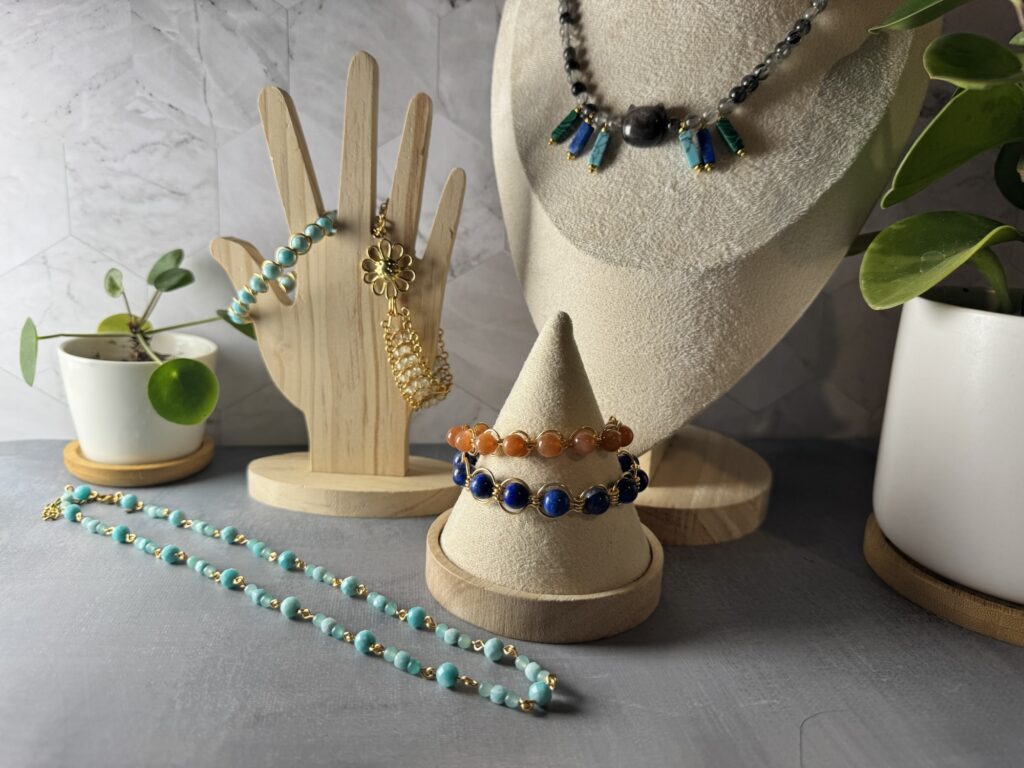
Jewelry we made this Labor Day weekend.

Friday Night Working

I didn’t want the damper of work stress taking over so I stayed up until 1 am finishing my work for work. It was tiring but I knew that if I didn’t finish that task I would have spent all weekend worrying about it. I had gotten up early around 7 am to start and for the rest of the day I spent it trying to finish that one assignment. It was a stressful day and I spent a few times crying. In the end I finally finished and immediately the weight of the stress was lifted off of my shoulders. My time to just enjoy the time off had finally arrived and I was ready to make sure that it was spent on just being happy.

Amazonite Wire Wrapped Bracelet

I didn’t want to spend my entire weekend alone. I knew that it was important to spend time with my family as it was their time off too. I love making all sorts of jewelry. I sometimes spend it wire wrapping. I sometimes spend it doing metal work. The thing about metal working is you are kind of stuck out a bench. When I want to be around my family, but still want to make jewelry I tend to do things that I can do without sitting at a bench which means while wrapping or beading.

The first thing I made this weekend was an amazonite bracelet. I wanted to make something simple while still being able to hang out with my family. I didn’t want it to have to consume too much of my time or my attention. This amazonite bracelet is something I learned from Della at diyforu.com. It’s a simple bracelet that’s great for beginners, yet looks very beautiful and polished.

Wire Wrapped Amazonite Bracelet

My Son Made His Own Necklace

My son, Robin, made his own necklace. He was very proud of it. He used black rutile quartz beads, Amazonite, charm, Malachite charms, turquoise charms, and a black obsidian cat bead. It came out very cute. I was very impressed so was of my followers on Instagram.

After Robin made this necklace and saw all of the reactions towards it, he wanted to make more. I find it wonderful to be able to share these kind of experiences with my son.

I made a few other things but my brain is getting fatigued. I’ll write more about them soon.

Amazonite bracelet, necklace, sunstone bracelet, lapis bracelet, Robin’s necklace, and Prehnite bracelet.